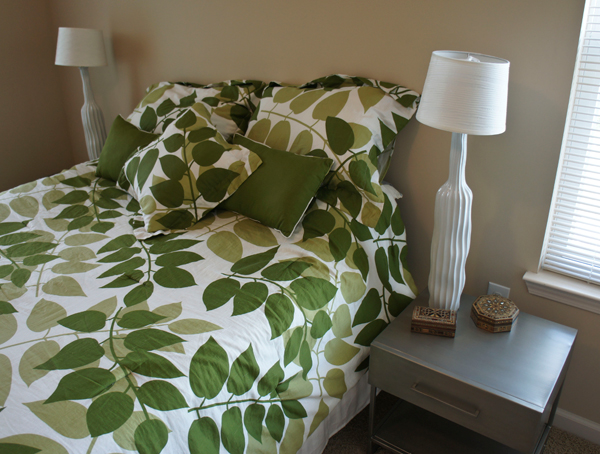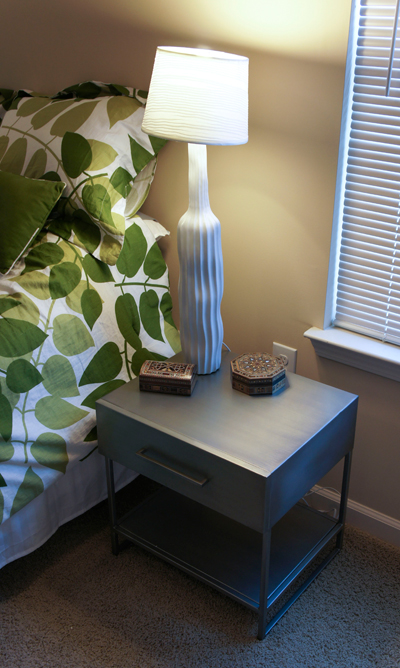
My loving and thoughtful husband bought me some new nightstands for my birthday back in June. This was a great gift for me because we did not have any nightstands, and I had fallen in love with ones from CB2 that I never would have pulled the trigger on myself due to the fact that I’m the cheapest furniture buyer in the world. Normally if I am shopping for furniture, I buy something functional from craigslist or the thrift store and go bananas with refinishing and replacing hardware. Once I even made new coffee tables from scratch using a power drill and a hand saw in my driveway.
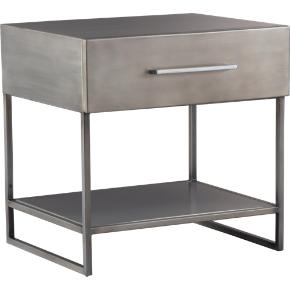
IMAGE FROM CB2.COM
So my excitement over these nightstands was perhaps not proportional to what others might have felt.
When they arrived, they were lovely and everything I had hoped for. They were just a little short next to our bed. With a little hemming and hawing, I came to the conclusion that they were fine- they just needed extra tall reading lamps to go with them, no problem.
But then it turned out, problem, extra tall lamps aren’t even a thing, and if they are, they are ugly or a zillion dollars. So I decided to make some, and here’s how.
First, find a base. This is the most challenging step of the whole process. It just needs to be something vase-like, a hollow object with an opening up top to jam the lamp hardware into. I lucked out and found these amazingly sweet vases at TJ Maxx for $20 a piece.
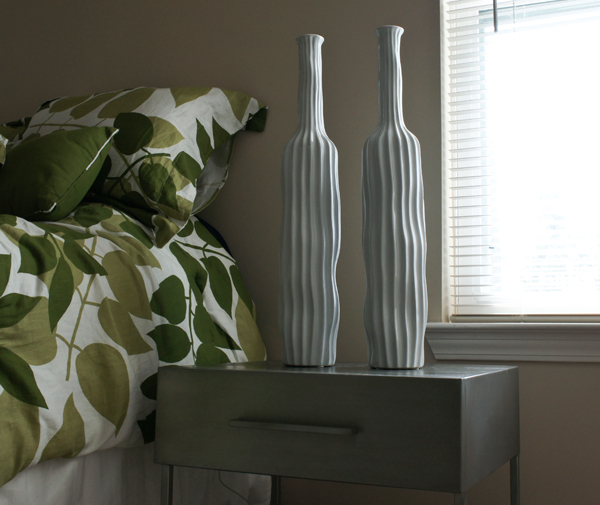
Next, buy your lamp kit. This is something that they have at any Lowe’s or Home Depot in the lighting section. It contains all the hardware you need to turn a vase into a lamp, and it costs around $10. Depending on what type of shade you’ll want to use you can grab a harp kit too.
While you’re there, if you have a glass vase like me, it’s also a good time to invest in glass bit for your drill. Mine was 5/16″ and that seemed to be just about right.
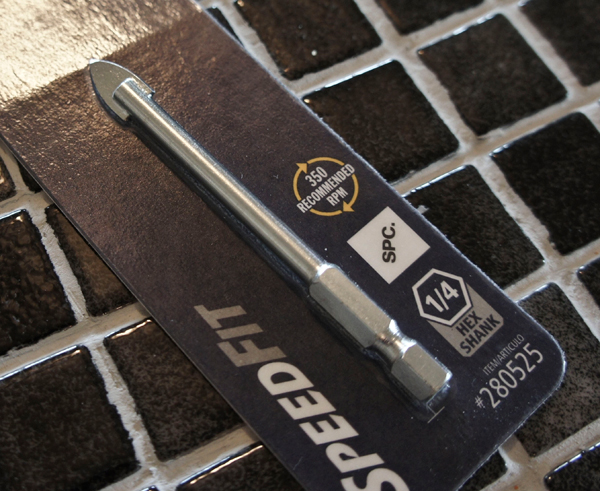
Pretty much the main difference between a lamp base sans its hardware and a vase is that the lamp base has a hole in it for the wires to poke out. Drilling the hole in my vases was the most tedious part of the whole process. If you are smart and bought a lamp base that is not 500 million miles thick like mine, it will probably take around five minutes to make a wiring hole.
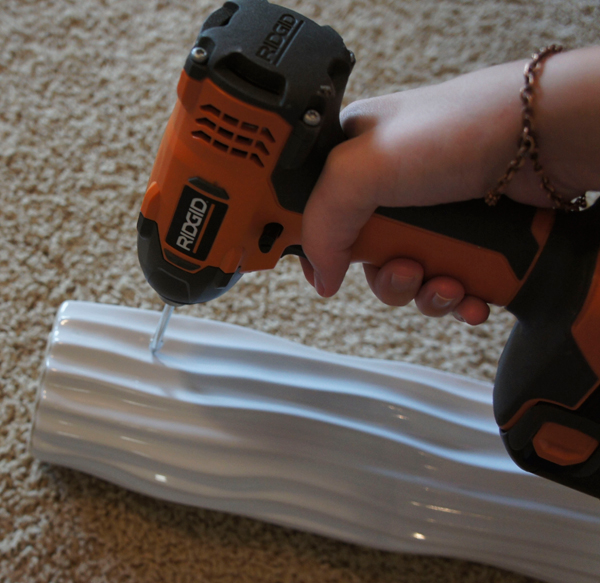
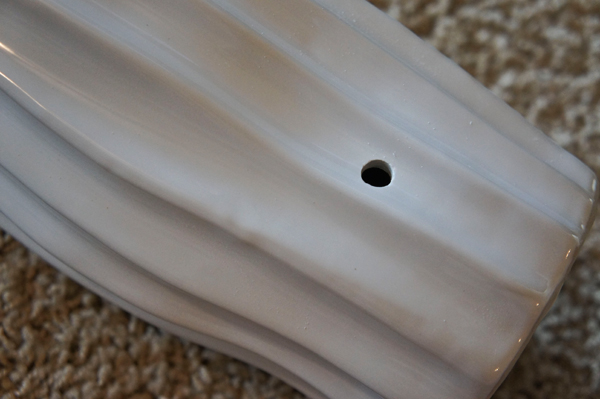
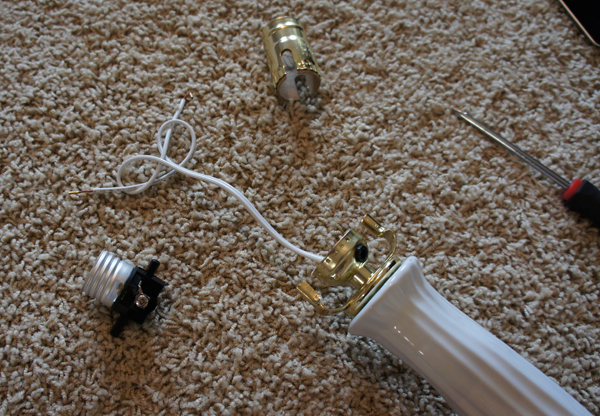
Now it’s time for the fun part. Take apart your lamp kit and thread the power cord through your base. Your lamp kit is going to have instructions on the back on how the hardware pieces come together, and it’s surprisingly uncomplicated. Just connect the bottom pieces, thread the wiring through, and smoosh them into the top of your base. You’re halfway there! Then you just need to connect the wiring to the part with the switch on it, which is the only thing I was confused about. It really is as simple as it seems. Back out the screws on each side, wrap the appropriate wire around, and tighten the screws back down. BOOM. You’ve wired a lamp. Snap the rest of the hardware into place, find a light bulb and test your lamp.
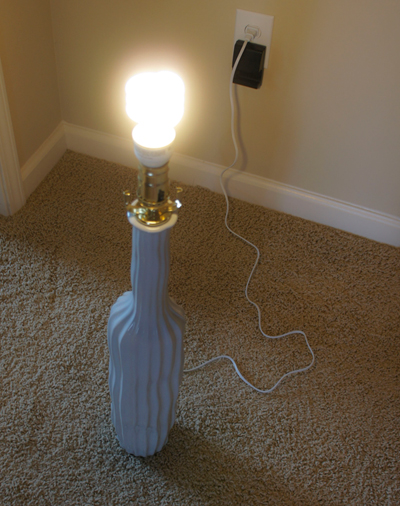
Yay, it works!
I added Target lampshades on mine so I could start using them, but I’m on the lookout for some taller, plain cylindrical white ones. I am super happy with the result and now I can comfortably read in bed, no thanks to my adorable yet lilliputian nightstands. Total cost for two lamps: $20 per vase, $10 per lamp kit, and $7 on the glass bit for a final sum of $67.